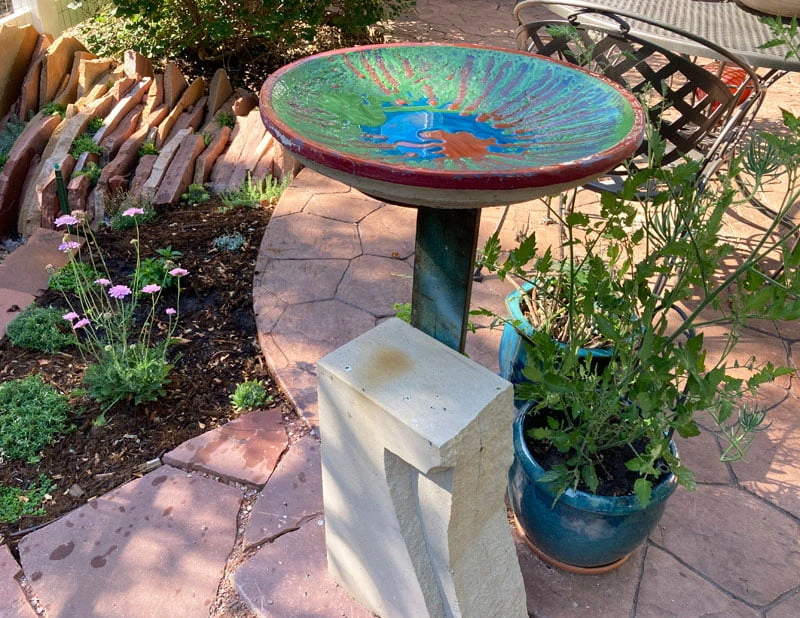
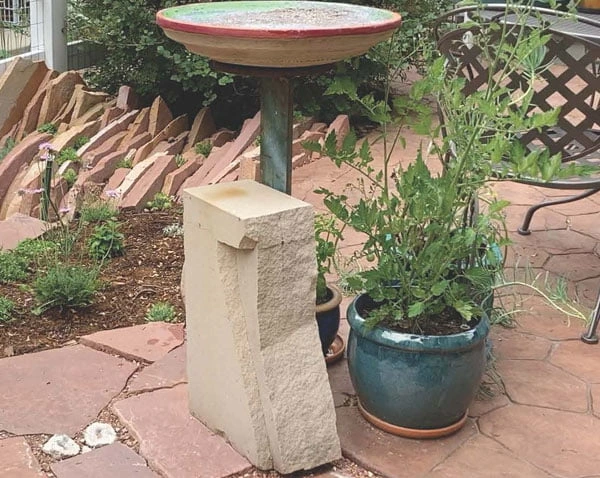
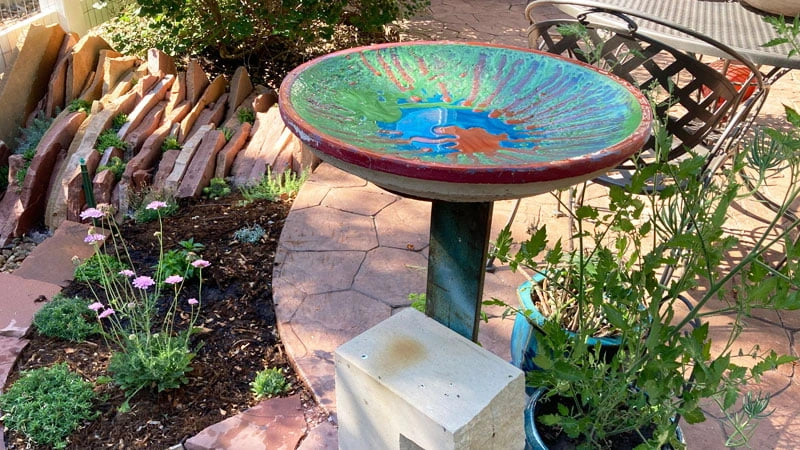
I’ve had this artist made birdbath in my garden for years – and I just love it. The birds do too! Unfortunately, the concrete saucer lost the beautiful painted decoration inside the bowl over the years, due to weather and UV exposure.
While the birds don’t mind, I thought it looked a bit tatty.
I realized at some point that the bowl was also starting to crack – allowing water to seep out. If I let it go any longer it would just break apart. First I tried some clear sealer, designed for ceramic pots and for UV, but it didn’t really help. It occurred to me that the best solution was to seal the entire interior with epoxy resin – similar to how people use epoxy to seal wooden countertops or wooden cutting boards.
Make It Fun
Since part of the beauty of this artistic piece was the decoration inside the birdbath bowl, I thought that I’d like to add some color instead of just using clear two part epoxy. I started researching what the options are for tinting epoxy.
Alcohol Ink For Tinting Epoxy
There is a product called Alcohol Ink that comes in a wide range of colors to give epoxy a color. The inks are somewhat transparent in the clear epoxy – so what you get is the color, but you can still see through it (unless you go really dark, using lots of the coloring agent).
Mica Powder for Epoxy Resin Color
Another option is Mica Powder – the deeply colored and finely ground flakes of Mica become suspended in the Epoxy, creating more of an opaque color. People who use it also rave about the sparkling nature of the flakes.
Since I want to hide the exposed concrete within my birdbath bowl, and having a surface that will catch the light sounds fun, I decided to go with the Mica Powder for my repair project. I’m also hoping that the epoxy will seep down into the cracked areas in the birdbath bowl to stabilize and strengthen it.
Selecting My Epoxy Resin Color Choices
The original birdbath saucer used a bright reddish orange color on the outside and top lip and a lot of lime green within the bowl. I thought I could also drizzle some other colors into the bowl as the inspiration hit. My repair project shifted gears into being a epoxy resin art endeavor. This is starting to be fun!
Instead of buying individual colors, I picked out a package that gave me 24 different color tones. I had a hard time figuring out from the description how much I needed – either based on surface area or volume of epoxy used, so as I go along, I’m going to give you that information. I hope it will help you figure out what materials you need if you have some type of similar creative project.
Project Steps
I took a video of the entire process of restoring the basin of my birdbath. I did three different epoxy + Mica powder colors and poured the epoxy on three separate days to allow each color to setup. I’ve condensed the entire process into an 8 minute video that you can watch here:

Project Steps demonstrated in the Video include:
- Mask the area to be covered with blue (masking or painter’s) tape to prevent epoxy running over the edges
- Mix enough epoxy for the area and add the desired Mica Powder for semi-opaque and sparkling color
- Apply the epoxy via drizzling (with the stirring stick), pouring from the mixing cup, or painting on with a disposable brush
- Three separate pours using three different color of Mica powder; mixing Mica powders to blend colors; using the self-leveling characteristic of the epoxy to flow colors next to each other
- Cleanup tips using Isopropyl Alcohol
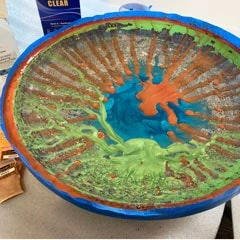
Interior of basin on the third day – in the midst of the Lime Green epoxy resin color pour.
Project Details
For those of you reading this article to learn about using Mica powder and to gauge quantities, my birdbath saucer is 19.5 inches in diameter and about 2.5 inches deep.
I ended up using about 4 ounces of epoxy (2 ounces of resin + 2 ounces of hardener) for the entire project. I did three mixes over three days (I gave each application a full 24 hours to set in between pours). I used about half of four Mica powder packets: Orange, Sea Wave (blue), and I mixed the Lime Green and Olive together to get a color closer to the original acrylic paint that remained on the birdbath saucer.
Project Materials Used
A close-up of the four Mica Powder color packets I used for my epoxy resin color project.
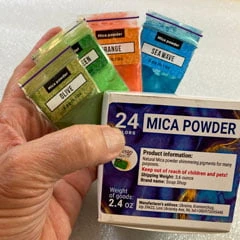
This is the kit used in my Epoxy resin color project. You get 24 color choices and each packet goes a long way and can be mixed with other colors in the kit.

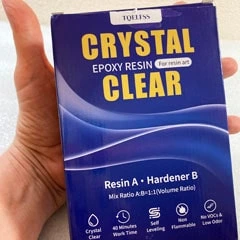
I only needed about half of this two part epoxy kit for my project. The mixing cups with measurements on the side of the cup that came with this kit were particularly useful – and they ended up being reusable after the epoxy dried because I could just pop the residue out of the cup.
This 8 ounce kit was more than enough to complete my project. You get 4 ounces each of Epoxy Resin and Epoxy Hardener. There also are an array of helpful supplies such as measuring cups and mixing sticks.

Since I have 20 colors that I haven’t gotten to use yet, I’ve been thinking of other things that I could coat with epoxy resin. So far most of my ideas are in the garden. I have some stepping stone round tiles that would look nice with a color pop. Ceramic or terra cotta pots could get epoxy decoration – and epoxy would revive the interior of many of my pot saucers! I think that metal trellises that have focal areas (like medallions, flower or bird shapes) might also be a place that could use some creative color!
Dedication
This article is dedicated to the memory of my friend Kevan Krasnoff. Kevan was the artist who created this birdbath from steel (and painted it), an amazing “found” piece of stone from a local quarry, and who poured the concrete for the basin (and painted it). Sadly, the world lost Kevan in June 2024 and we miss him greatly. You may view some of his other art at krasnoff.com.
Kevan – I hope you like how the basin turned out!
Table of Contents
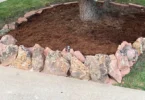
Love Epoxy projects? Check out our article Gap Filling Wood Glue – Easy Wood Repair – this project uses two part epoxy that is specially formulated for repairing wooden items like furniture. Looking for more ways to make your garden the envy of the neighborhood? Check out this raised bed planter combined with a tree ring.